Rebadge Your Ride: How to Re-Install Emblems and Badges
A step-by-step guide to replacing a little character on your car.
 Kara Snow | Capital One
Debadging is the popular act of removing the emblems from a vehicle, usually for aesthetic reasons. Taking off a car's badges can give it the clean, sleek look some owners prefer.
But the anonymous look isn't for everyone. If you've bought a debadged vehicle and want to return it to its stock appearance — or if your original emblems just look worn and faded and need to be replaced — it's pretty easy to bring back the bling. Here's what you need to know.
 Kara Snow
Sourcing a New Badge
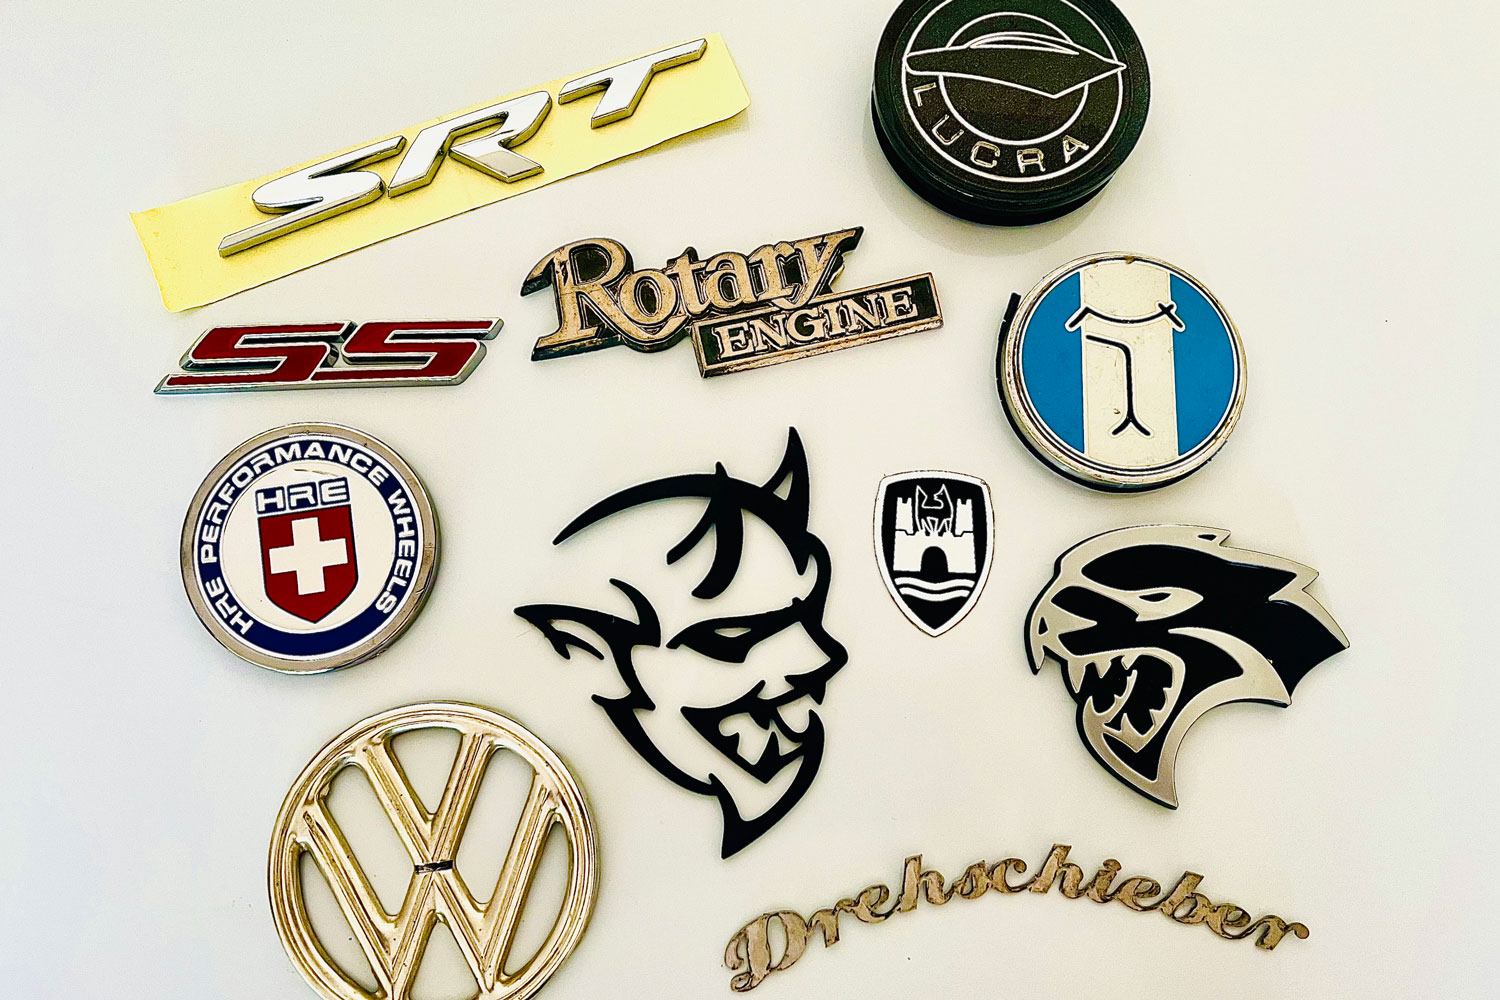
Your first step will be finding the right badges for your model. Original equipment options for newer vehicles are typically easy to find through online sellers. Just enter your year, make, and model to find all the badges your vehicle sported when it left the factory.
Badges can also be found on eBay and elsewhere, but beware: The quality of aftermarket emblems can be spotty. The sizing or fonts could be inaccurate, and the material might not be durable enough to hold up to the elements. It's a good idea to check reviews to avoid buying subpar parts. Just to be safe, you can order what you need directly from your local dealer's parts counter.
 Kara Snow
Prepping the Area
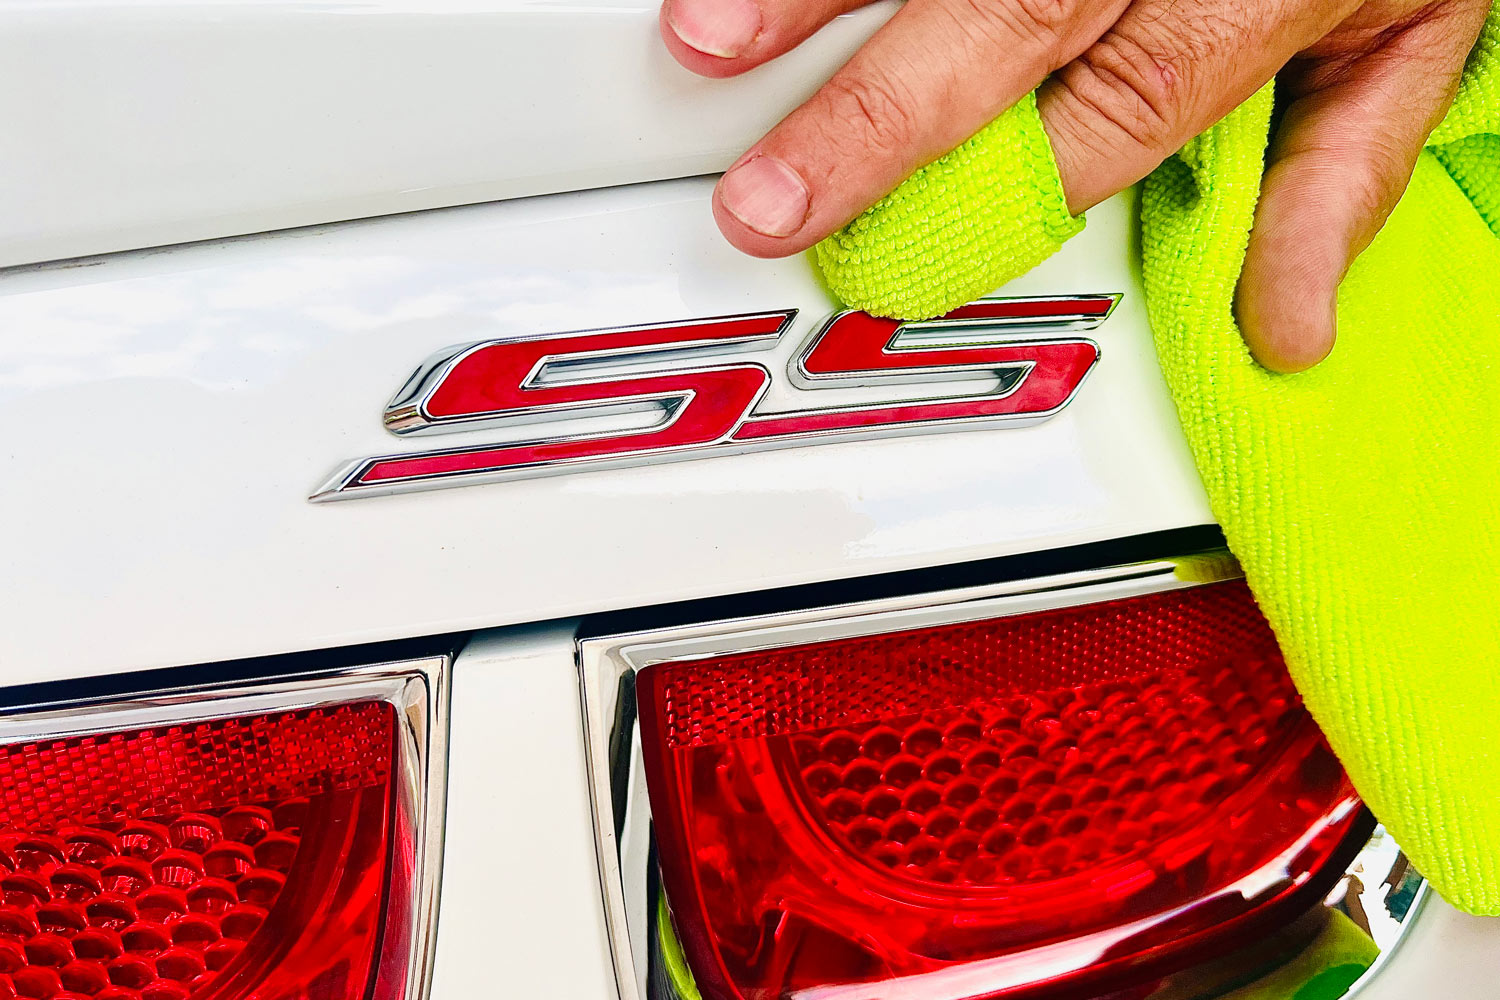
One of the most important steps for properly rebadging your ride is to thoroughly clean the surface. Wash the car with automotive soap and water, and make sure the area you're working on is thoroughly dry.
If you're removing an existing badge — working dental floss back and forth behind the emblem will usually do the trick — you'll need to buff off any lingering residue with adhesive remover, such as
 Kara Snow
Placing the New Badge
Getting the new badge situated and making sure it's level and positioned correctly can be the most difficult part of the process. There are a few tricks to make this step easier.
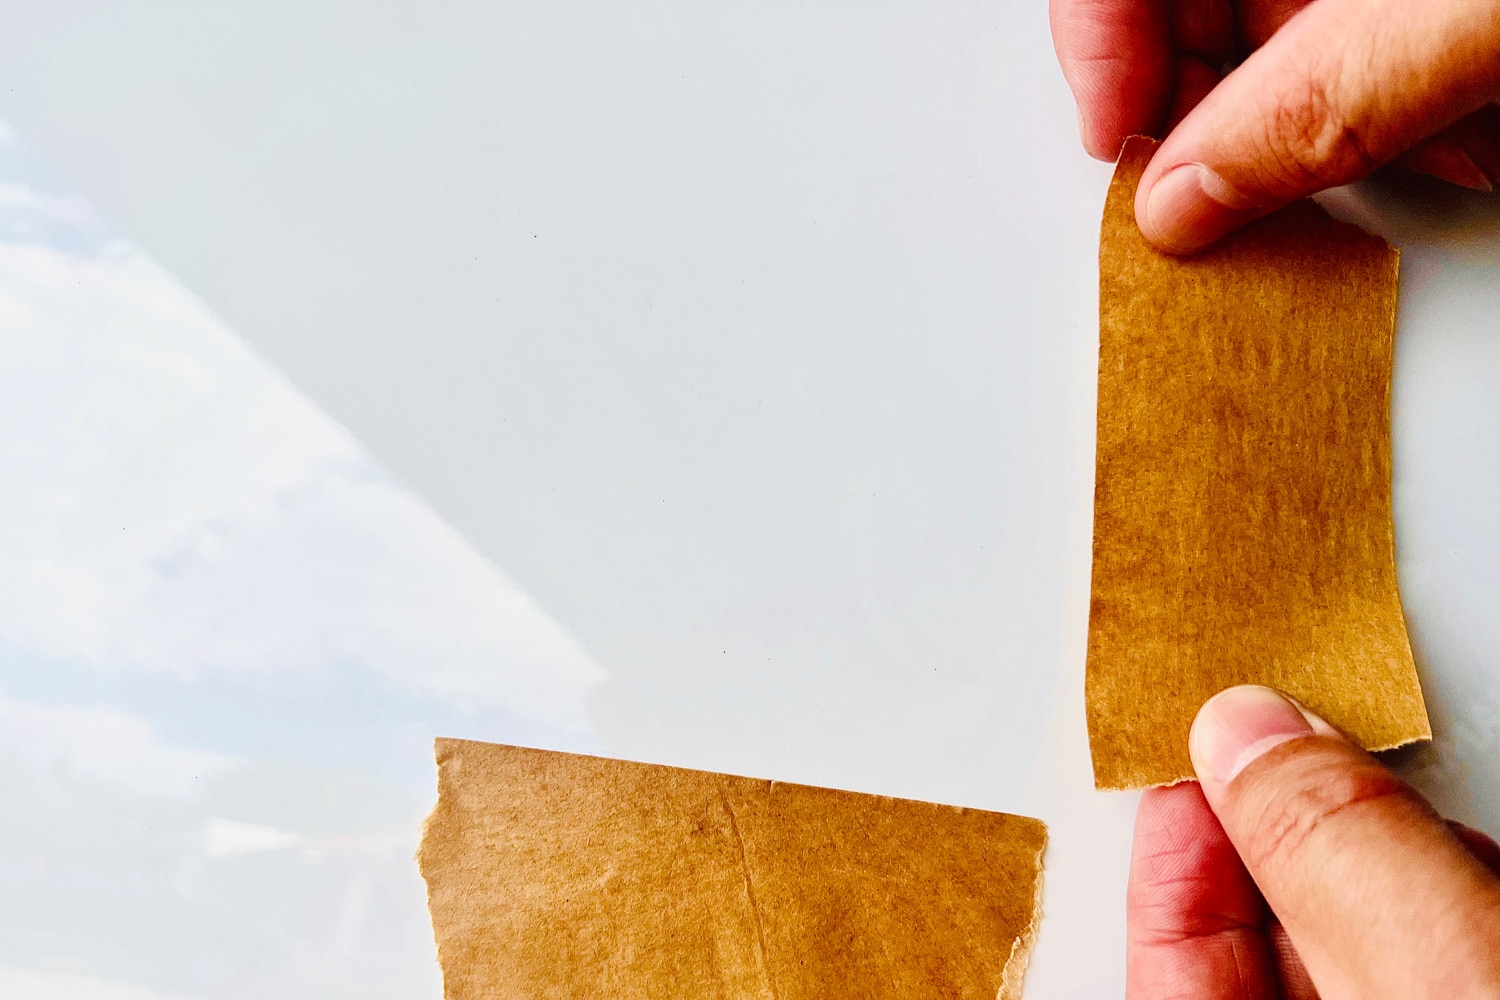
Correct placement is easiest, of course, if you're replacing an existing badge. Before you take the old one off, simply create a template with masking or painter's tape, marking its exact position on the panel. Use this as your guide when you affix your new badge.
Things get trickier if you don't have an existing badge as a reference. Eyeballing the location from photos might be tempting, but it's not a great idea. Depending on your make and model, you might be able to track down the manufacturer's specs online or find someone in an enthusiast forum who can help you out.
If you want to be extra thorough, though, you could take precise measurements from an identical car in person. Once you have your positioning worked out, using a level will help you get as close as possible to perfect placement.
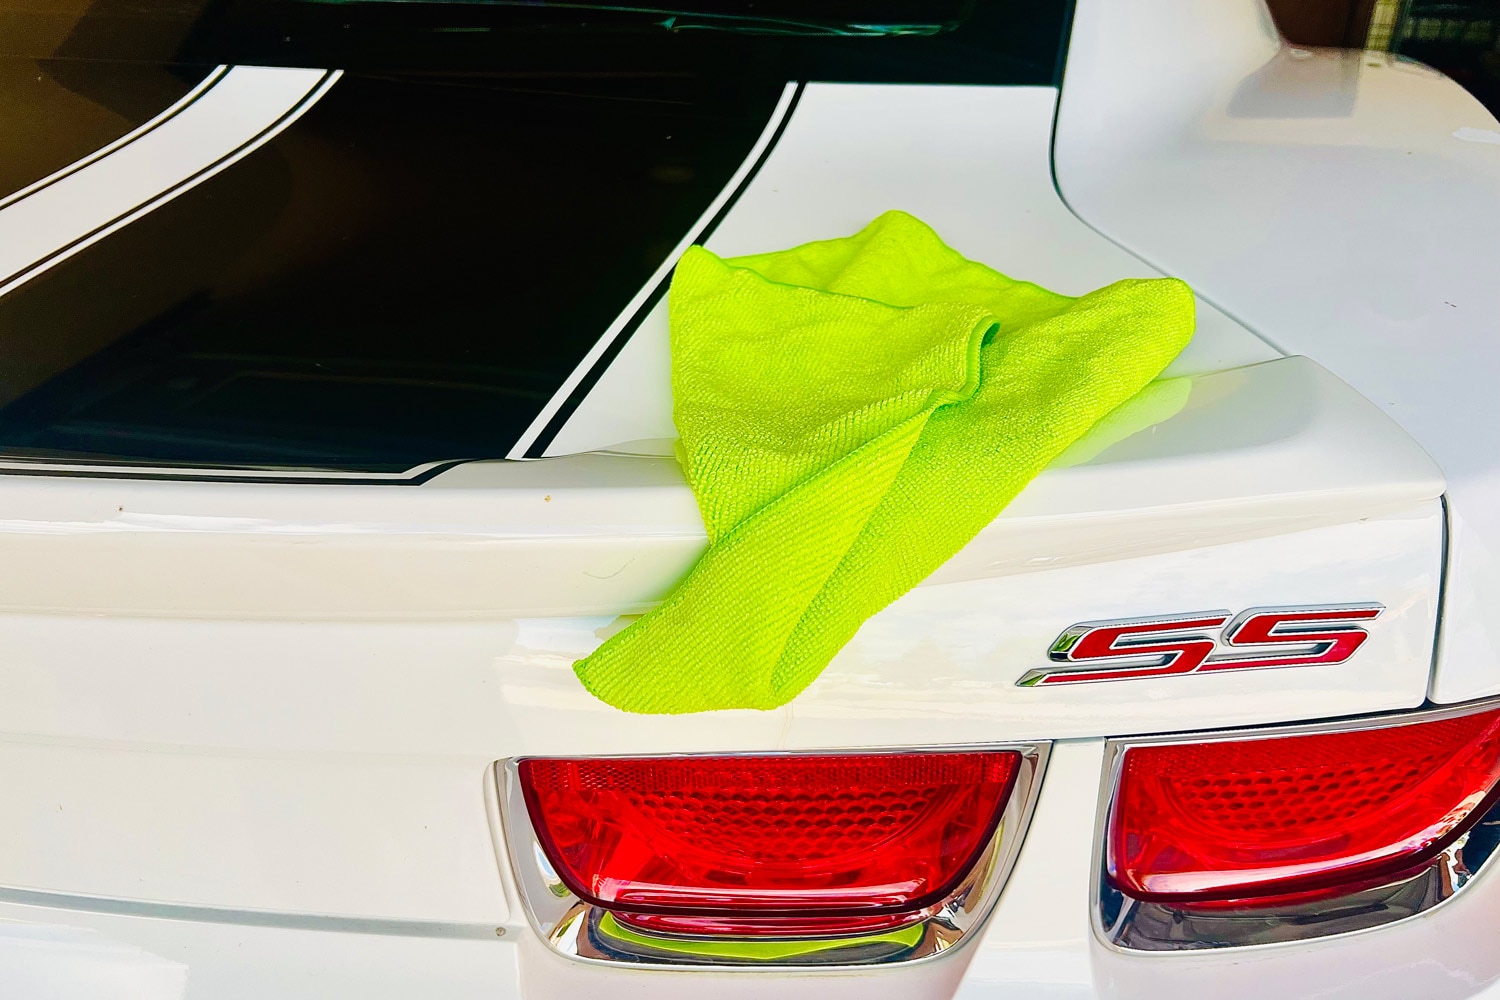
After your new badge is in place, let it bond to the surface for 72 hours before washing the car.
Written by humans.
Edited by humans.
 Brennan Sullivan
Brennan Sullivan is a writer and lifelong car fanatic. With an appreciation for all makes and models, Brennan is particularly passionate about the rich history of the automotive industry. In his spare time, he's the caretaker of a 1962 Sunbeam Alpine, and a Golden Retriever named Willow.
Related articles
View more related articles